
Here at Awesome Inventions, we just can’t get enough of a good DIY project! It never fails to amaze us the creativity, skills and determination that various people possess. Here we present an awesome step by step photo tutorial of an incredible pallet lounge tree swing created by Imgur user ‘IAmGregAnderson’.
You could probably buy this type of swing but why not save yourself some money and have the fulfillment of knowing that you put your own one together?
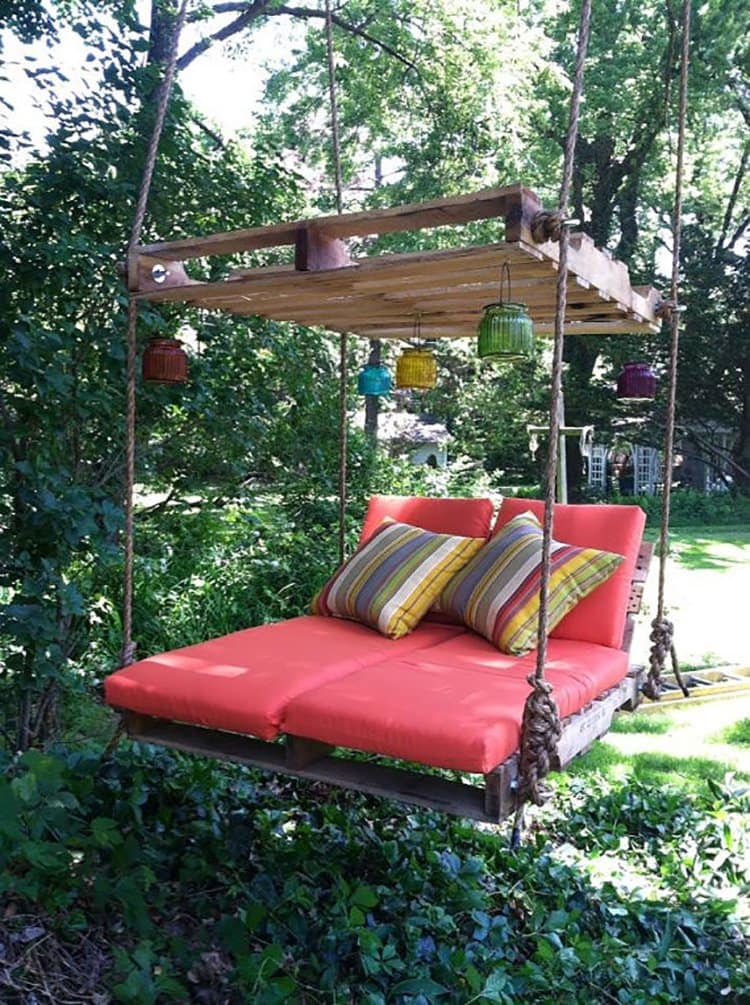
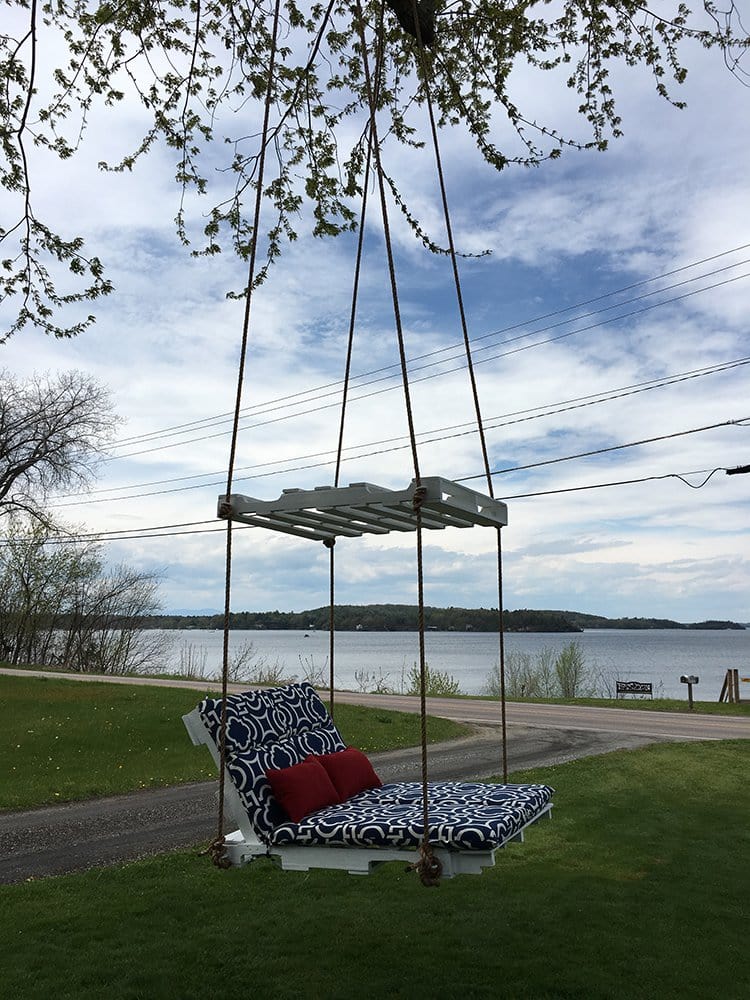
This is the original inspiration image. Pretty cool!
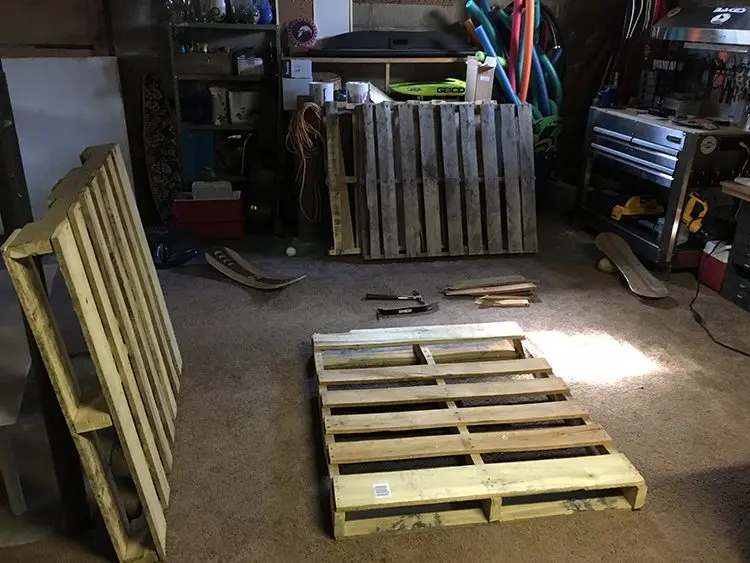
The first step was to source some good pallets. If you’re going to take on this project, you’ll need 3 of them. The standard size is 40″ x 48″, you’ll want to avoid any pallets with cracked or warped wood.
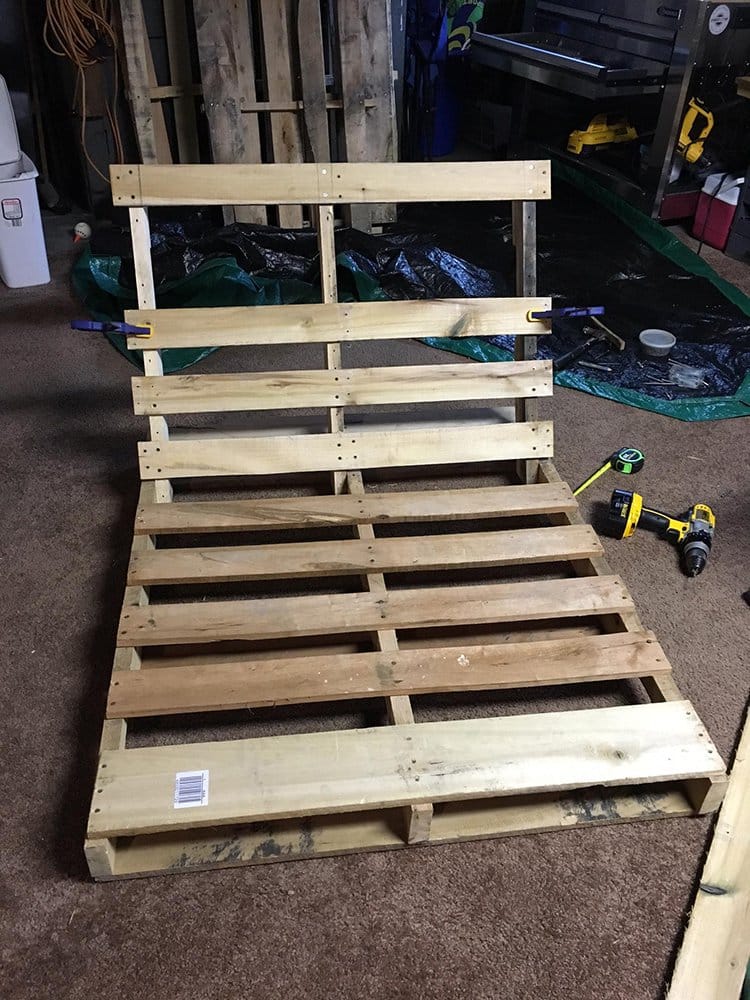
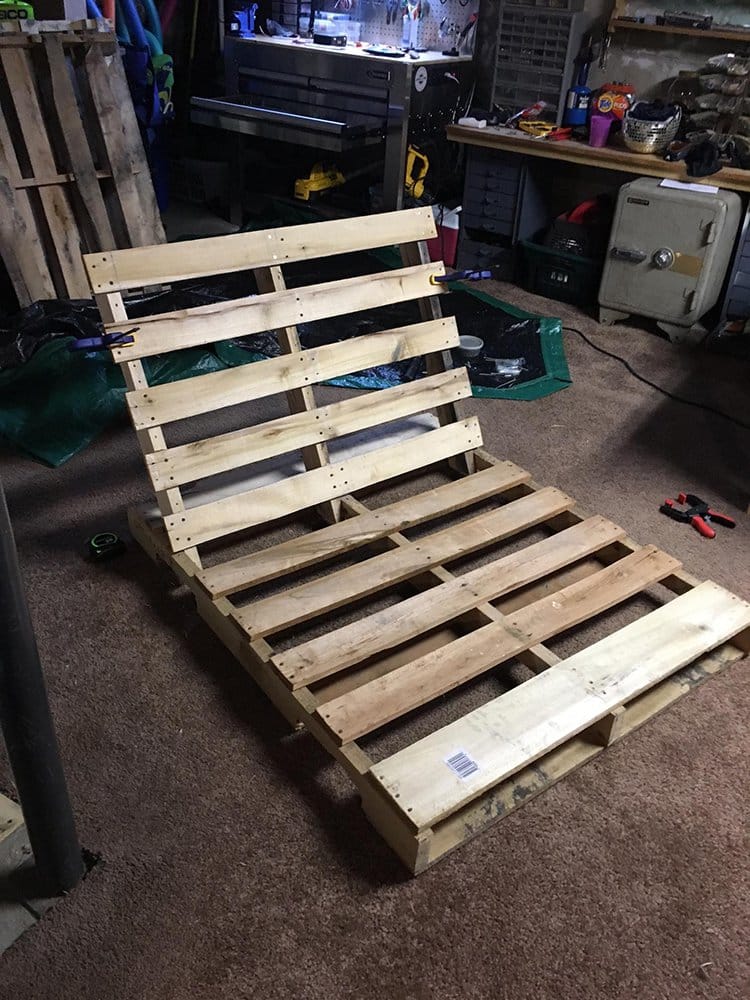
Building the back support required the deconstruction of 1 of the pallets. This required removing every board from the 3 main pallet supports. A cat’s claw and hammer were used, being extremely careful not to crack the boards because they will ultimately be rebuilt. At this point you would also decide what angle you want the back support to be. This part will then slot into the inside of your base pallet. Screws would then be added to keep in in place.

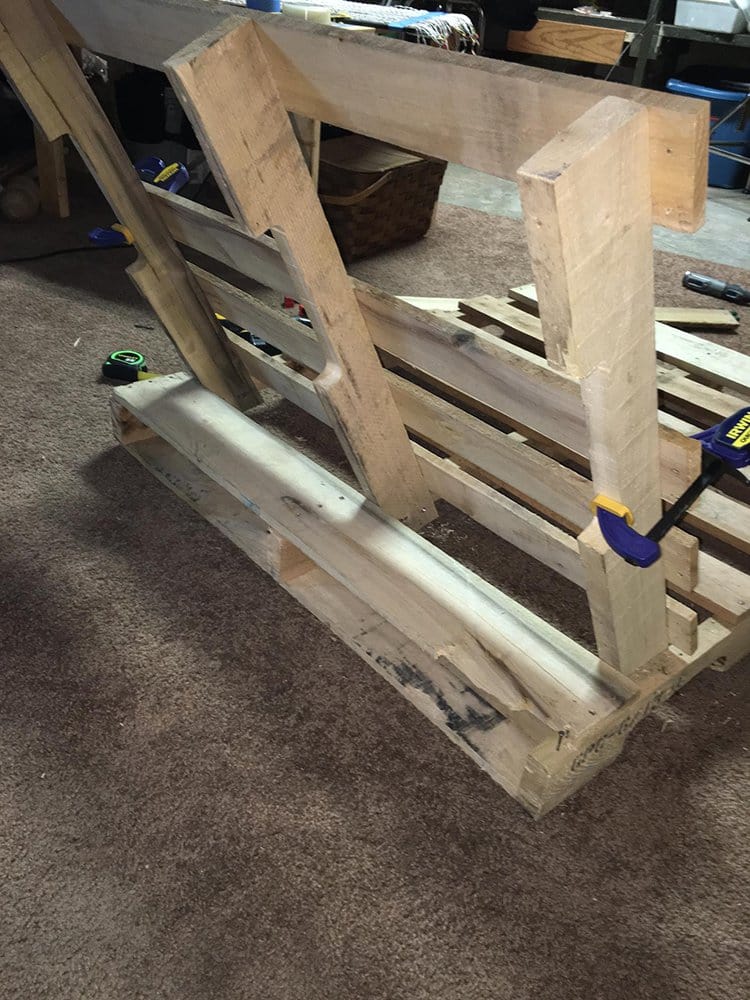
Wood clamps were used to keep the planks in place when drilling and screwing.
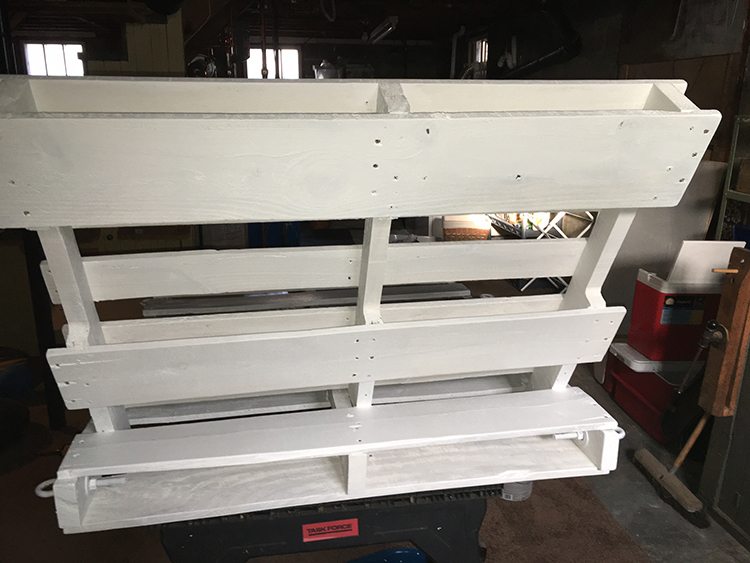
Here is a back view showing the support pieces.
The once removed back blanks have now been put back into place.
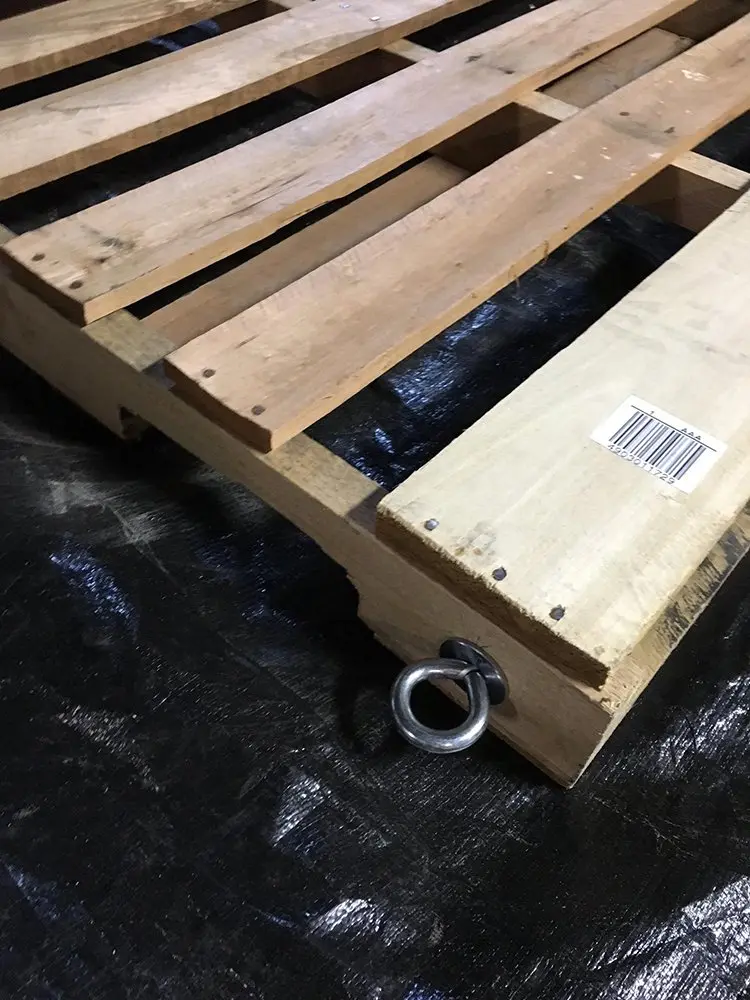
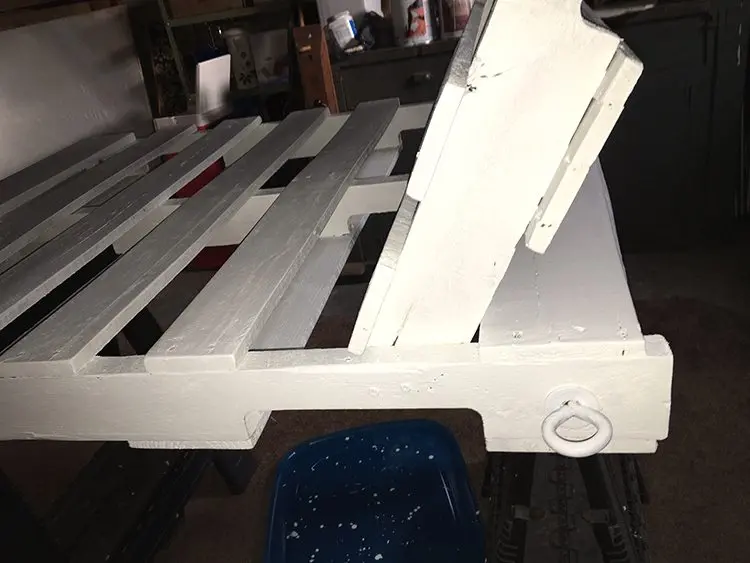
Eye bolts were mounted for the rope to be attached to, washers were used on both sides.
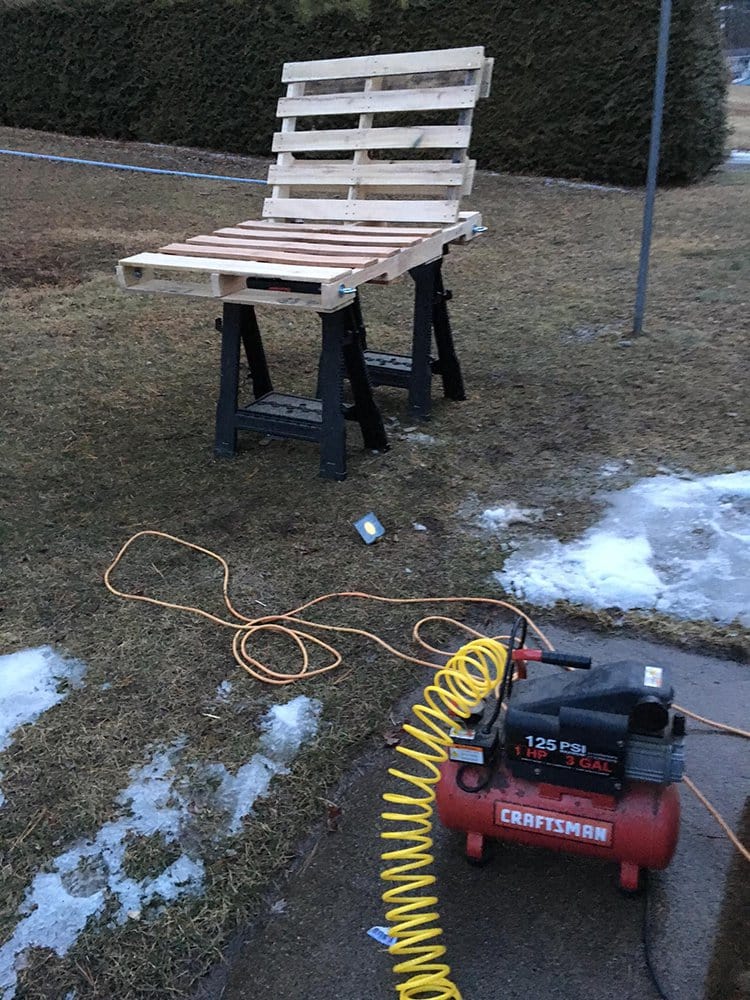
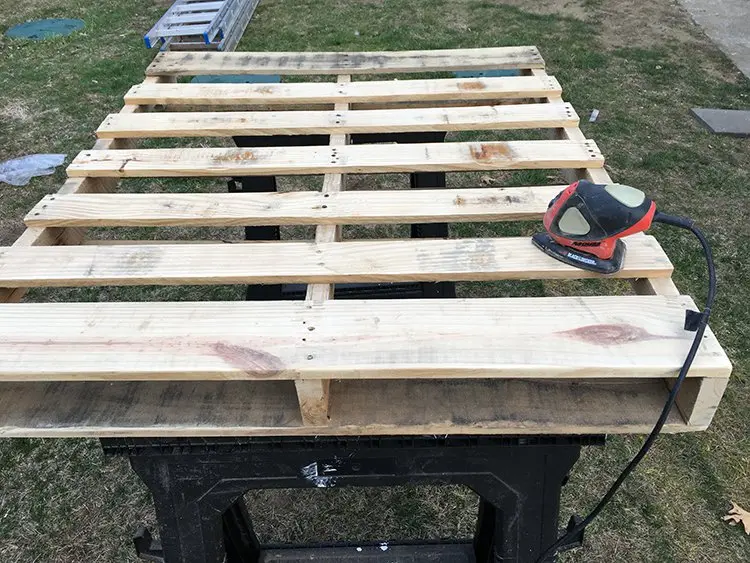
The structure was sanded with 80 grit and then an air compressor was used to blow the sawdust off.
Next it was on to priming! ‘Zinsser Bulls Eye 1-2-3’ was used here.
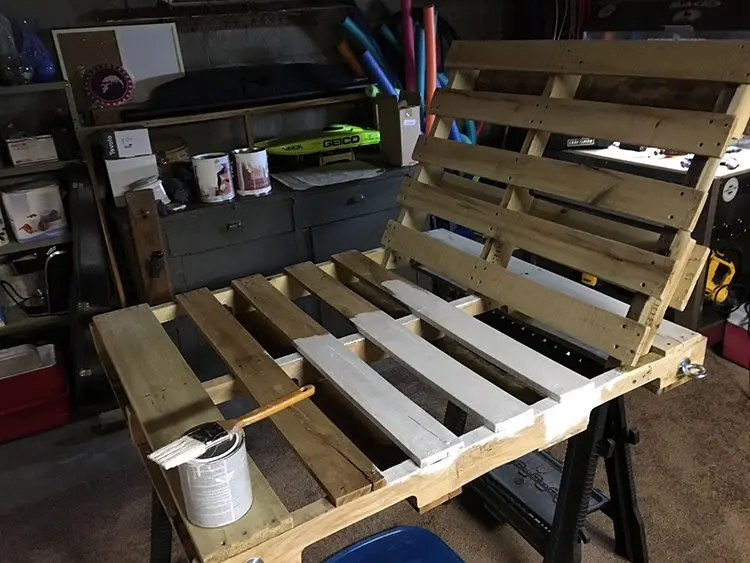
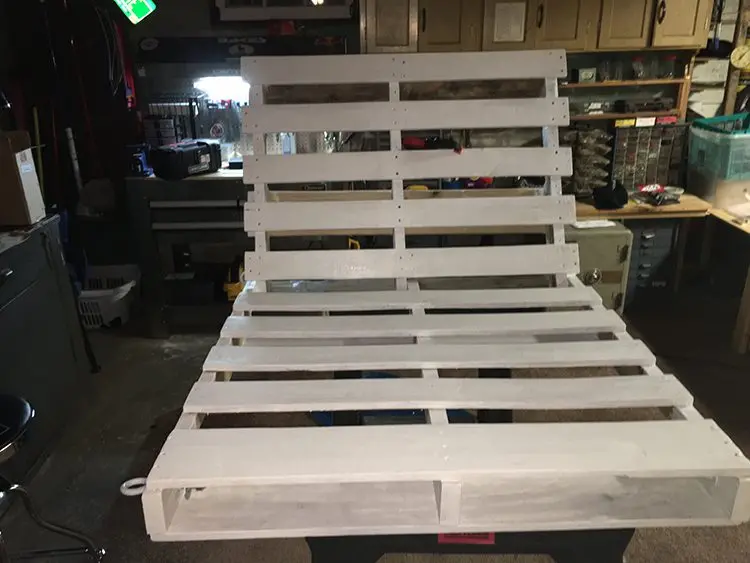
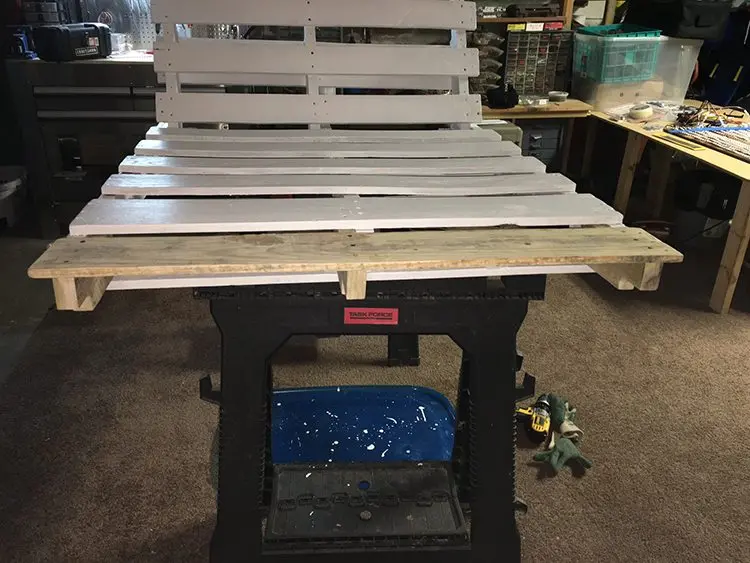
In this image, priming is now complete and the pallets are ready for painting!
Back shot.
Close up of the back rest…
The padding and pillows arrived but sadly the pad was too long!

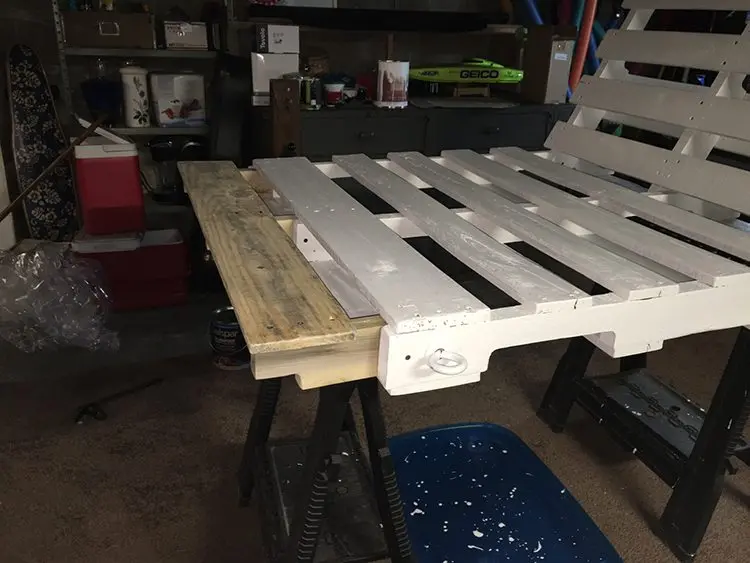
The decision was made to add a foot extension.
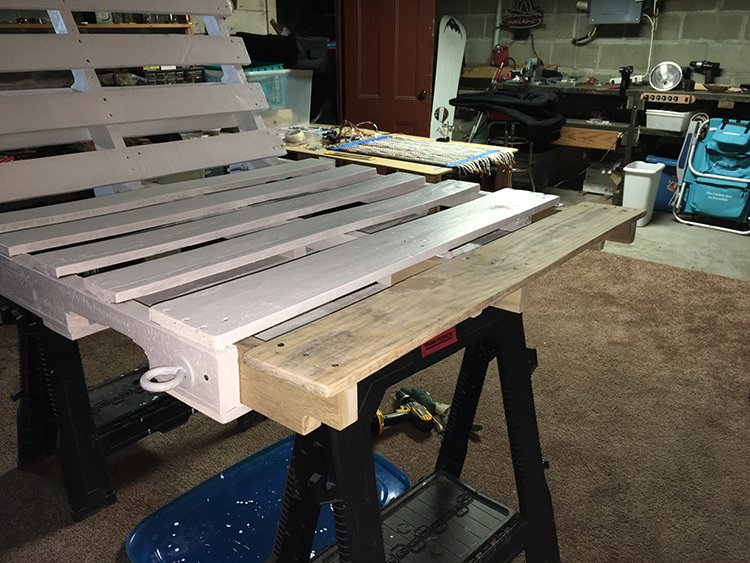
It was screwed in tightly!
The extension was sanded and ready to be primed.
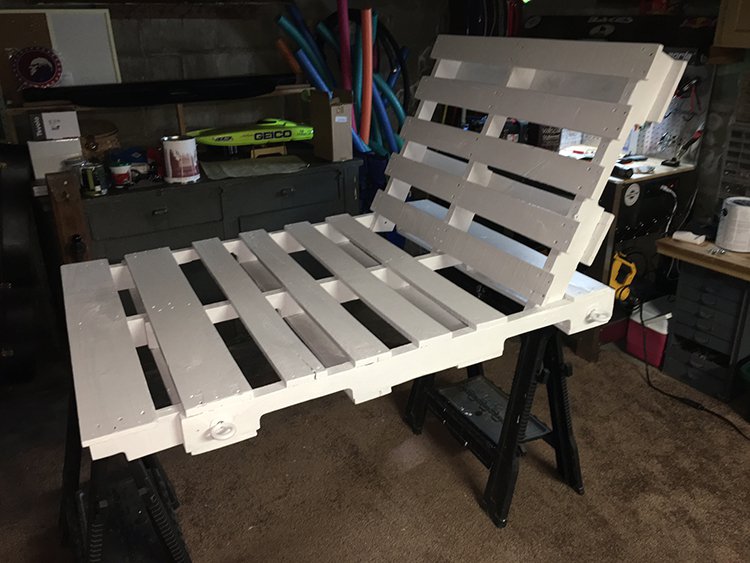
Everything is now painted and good to go!
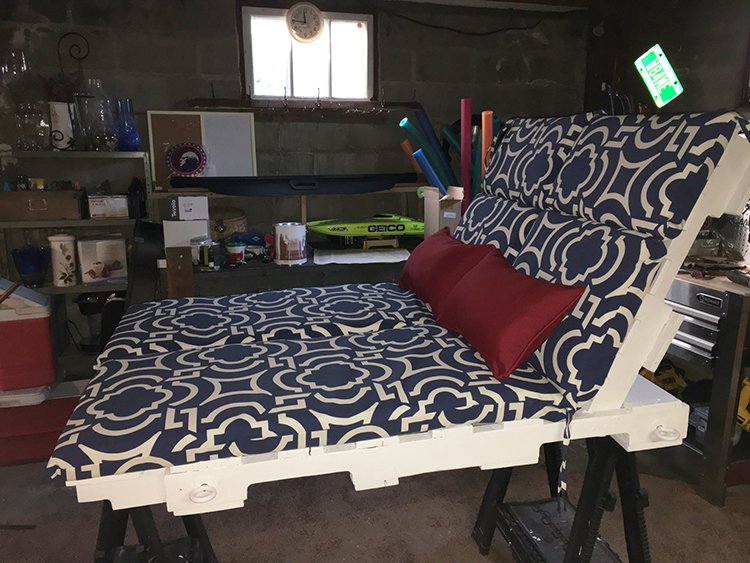
As you can see, the pad now fits perfectly.
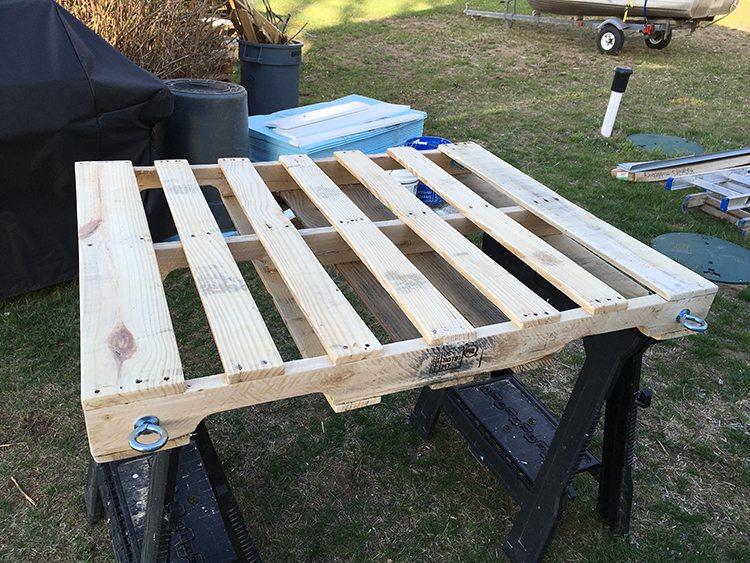
It took a while to find the right pallet to be used for the top part of the swing (you’ll see what we mean later). Many of the boards on this pallet came from other pallets. It was important that this piece was well put together and would be strong.
The pallet was sanded and 4 more eye bolts were mounted on each corner.
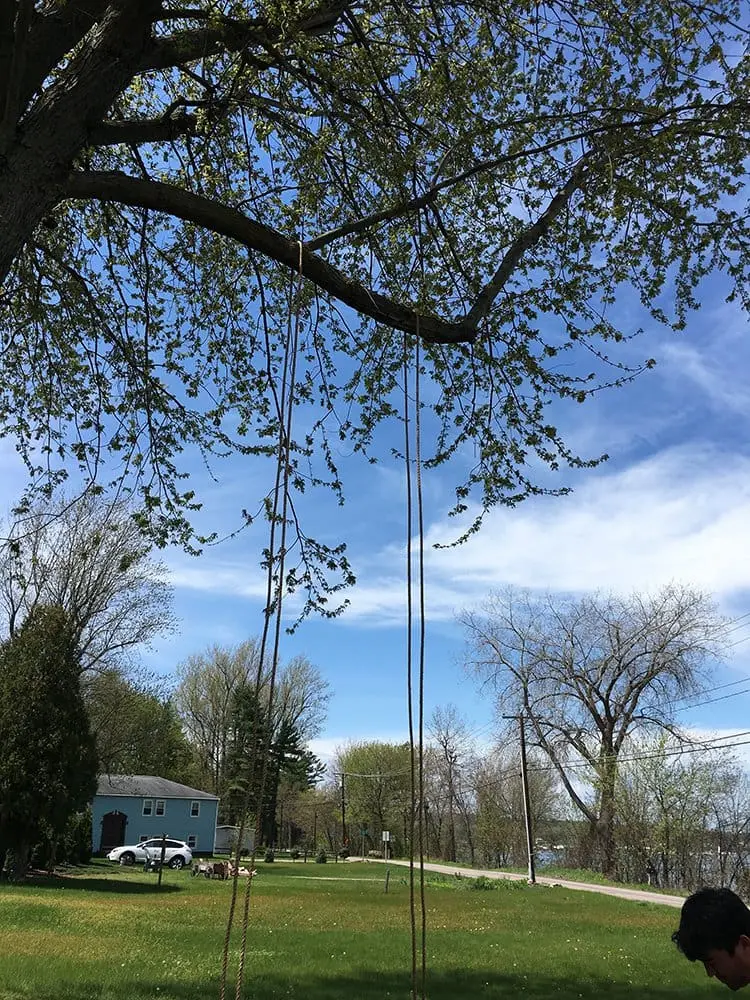
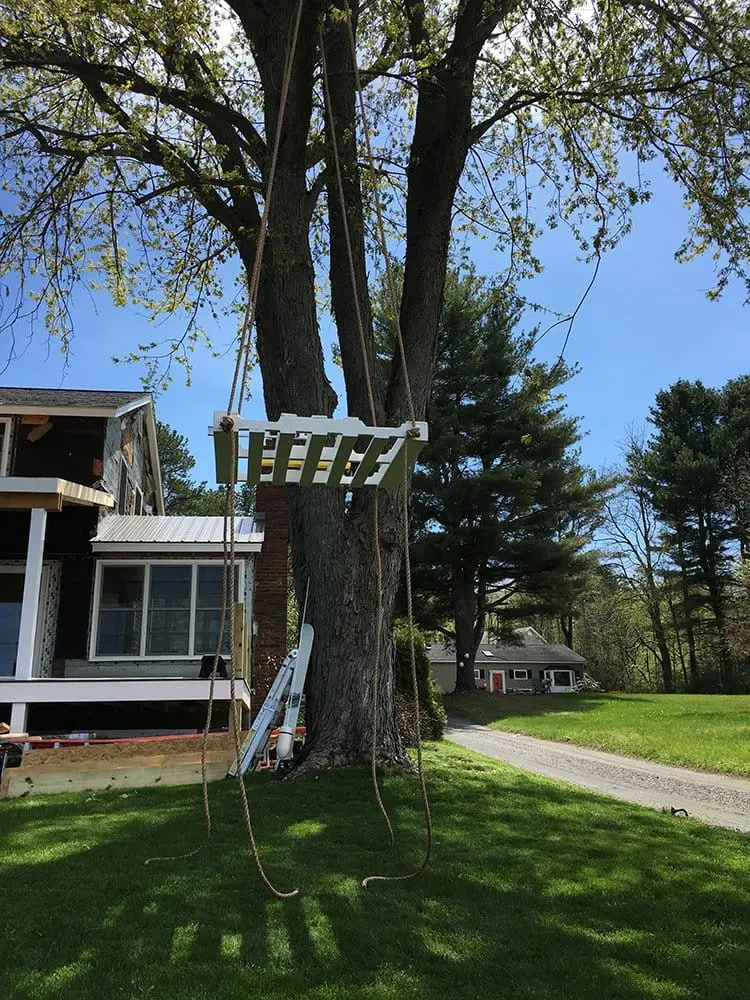
A ladder was used to access a branch about 25′ up. Then two 40′ ropes were tossed over it.
Ladders and some scrap wood were used to balance the top pallet in place. Knots were then added to the eye bolts!
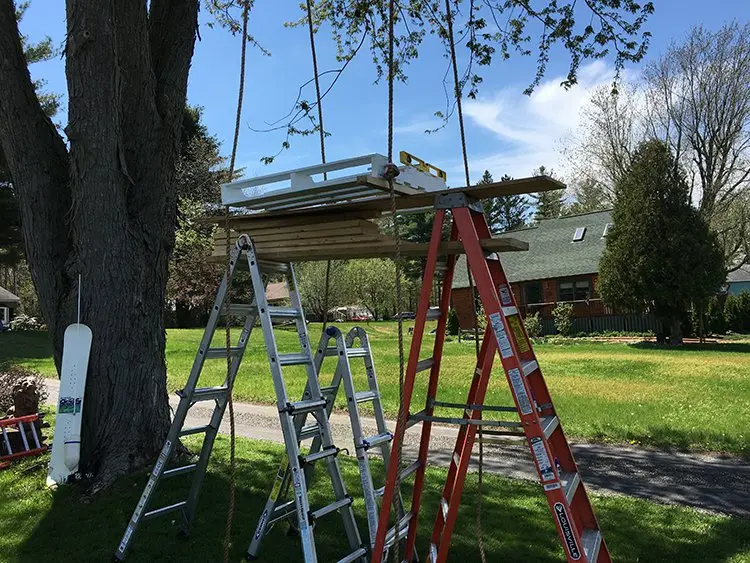
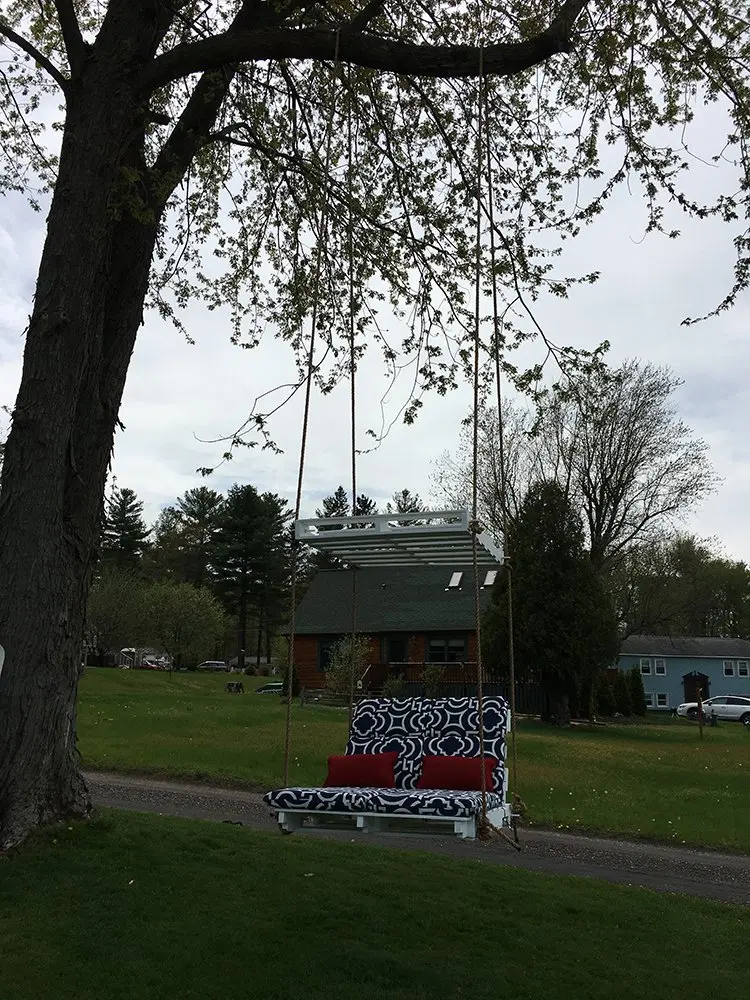
The first pallet is mounted and balanced wonderfully!
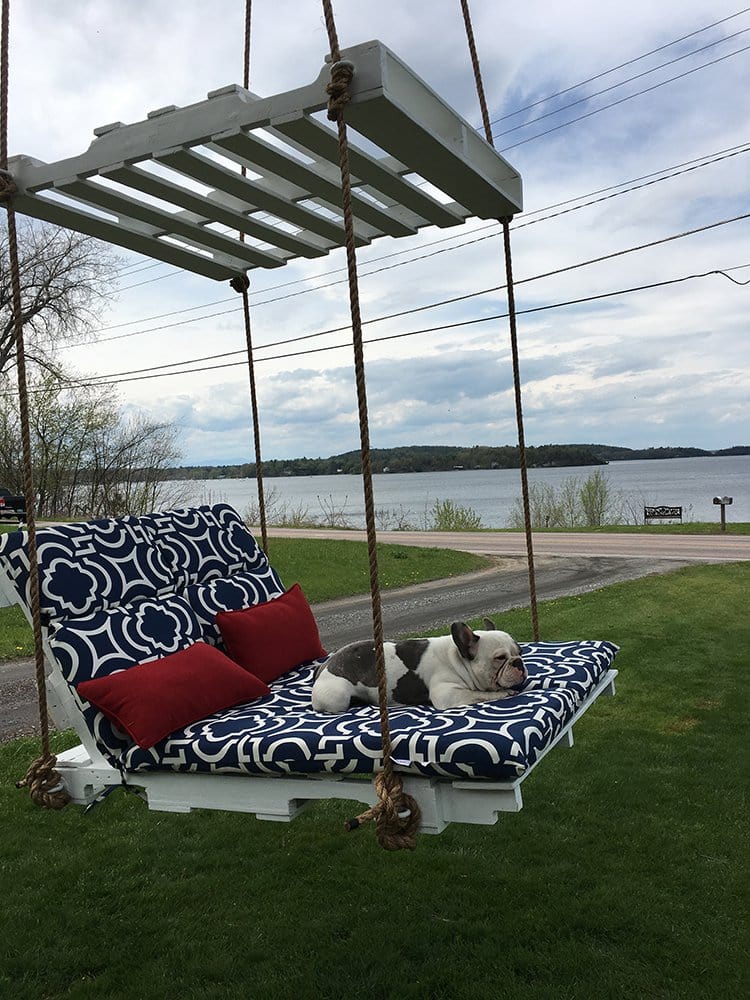
And, here is the awesome finished product!
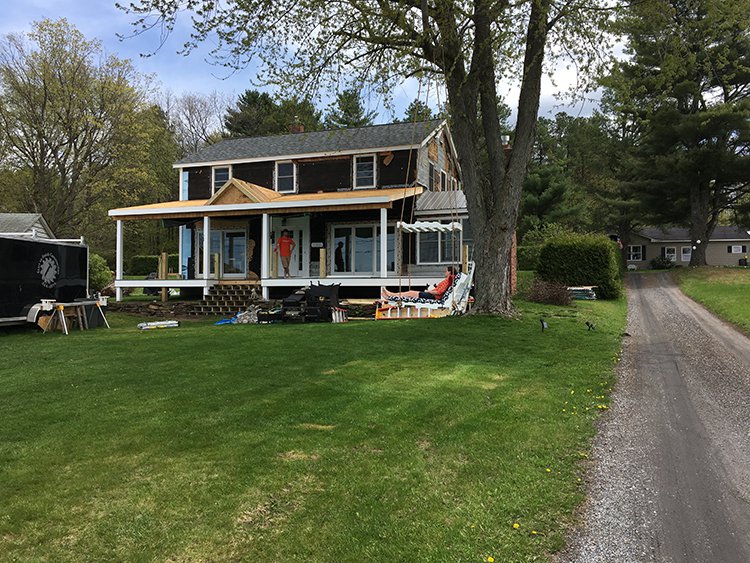
What a lovely asset to this home.
It was a clear hit with Enzo!
We are feeling quite envious right now. We really want one of these swings!

IAmGregAnderson stated that he saw someone selling these swings for $500, which is definitely what he would charge if he made another!
We come across a lot of projects that we tell ourselves we would love to replicate but this is one we feel really strongly about! A swing seat like this would be so perfect on a warm day at sunset. What a lovely place to escape to with a book and a drink, with some nice surroundings as your only company.
We really love this design! It would also feel super rewarding to know that we built the swing with our own hands. Let us know your thoughts on the project below!
Source: Imgur